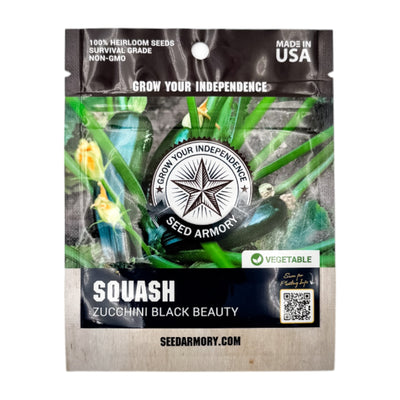
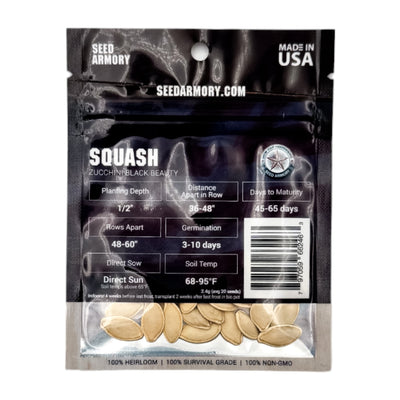
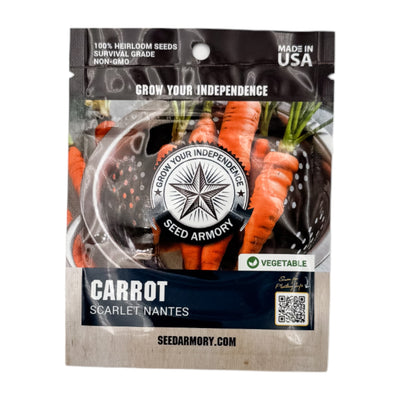
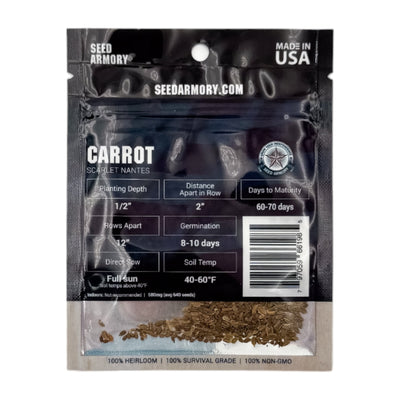
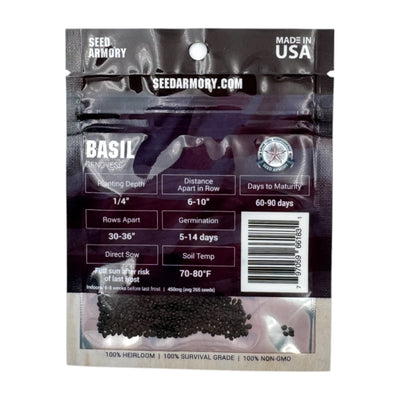
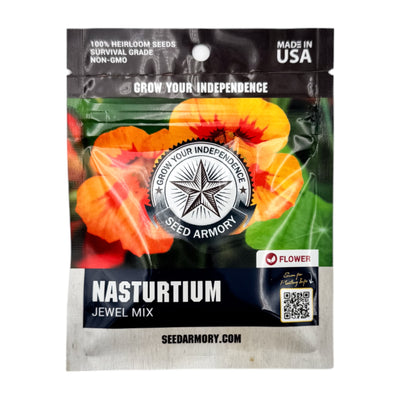
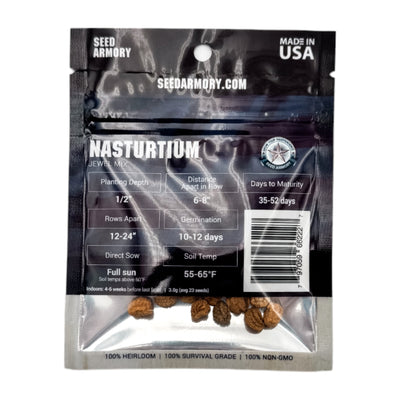
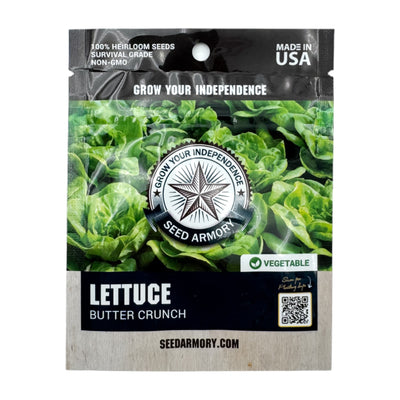
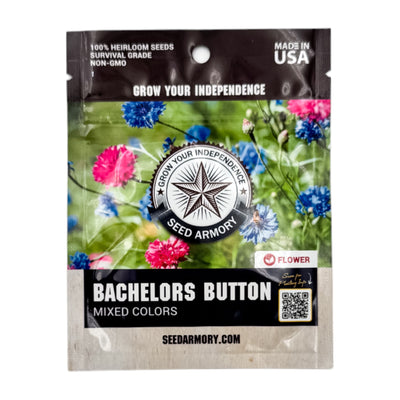
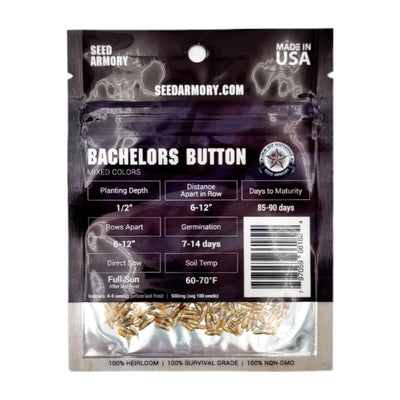
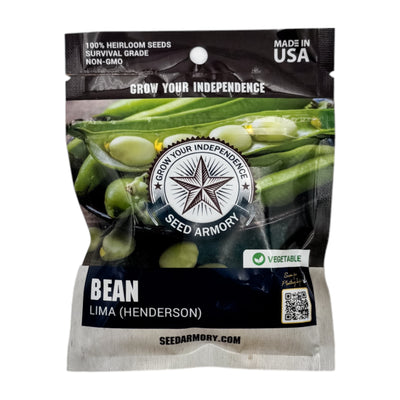
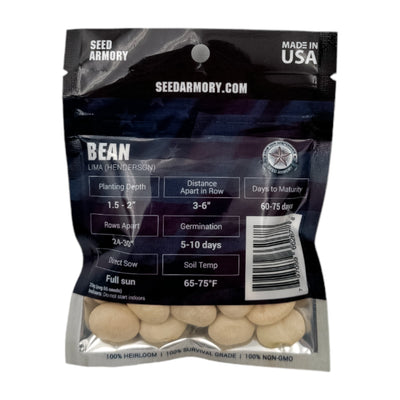
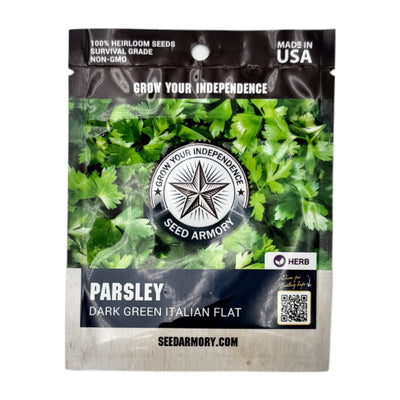
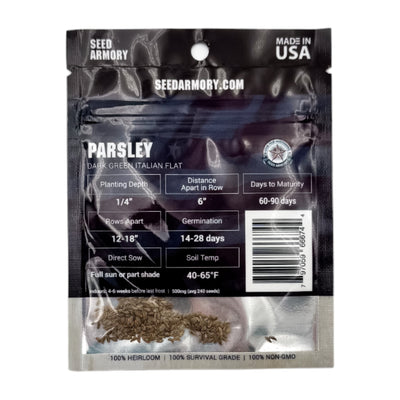
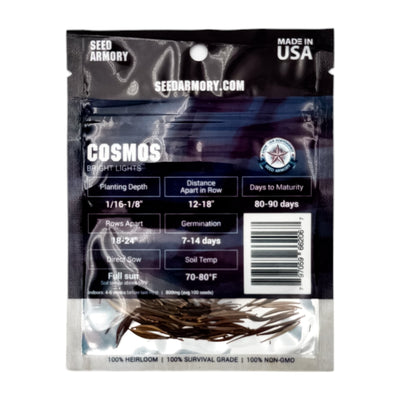
Zone 2 Specific Seed Varieties

Filter and sort


100%
Survival Grade
100%
Heirloom Seeds
100%
Non-GMO

100% American
Sourced
INVEST IN SEED ARMORY'S SURVIVAL GRADE SEEDS TODAY
INVEST IN SEED ARMORY'S SURVIVAL GRADE SEEDS TODAY
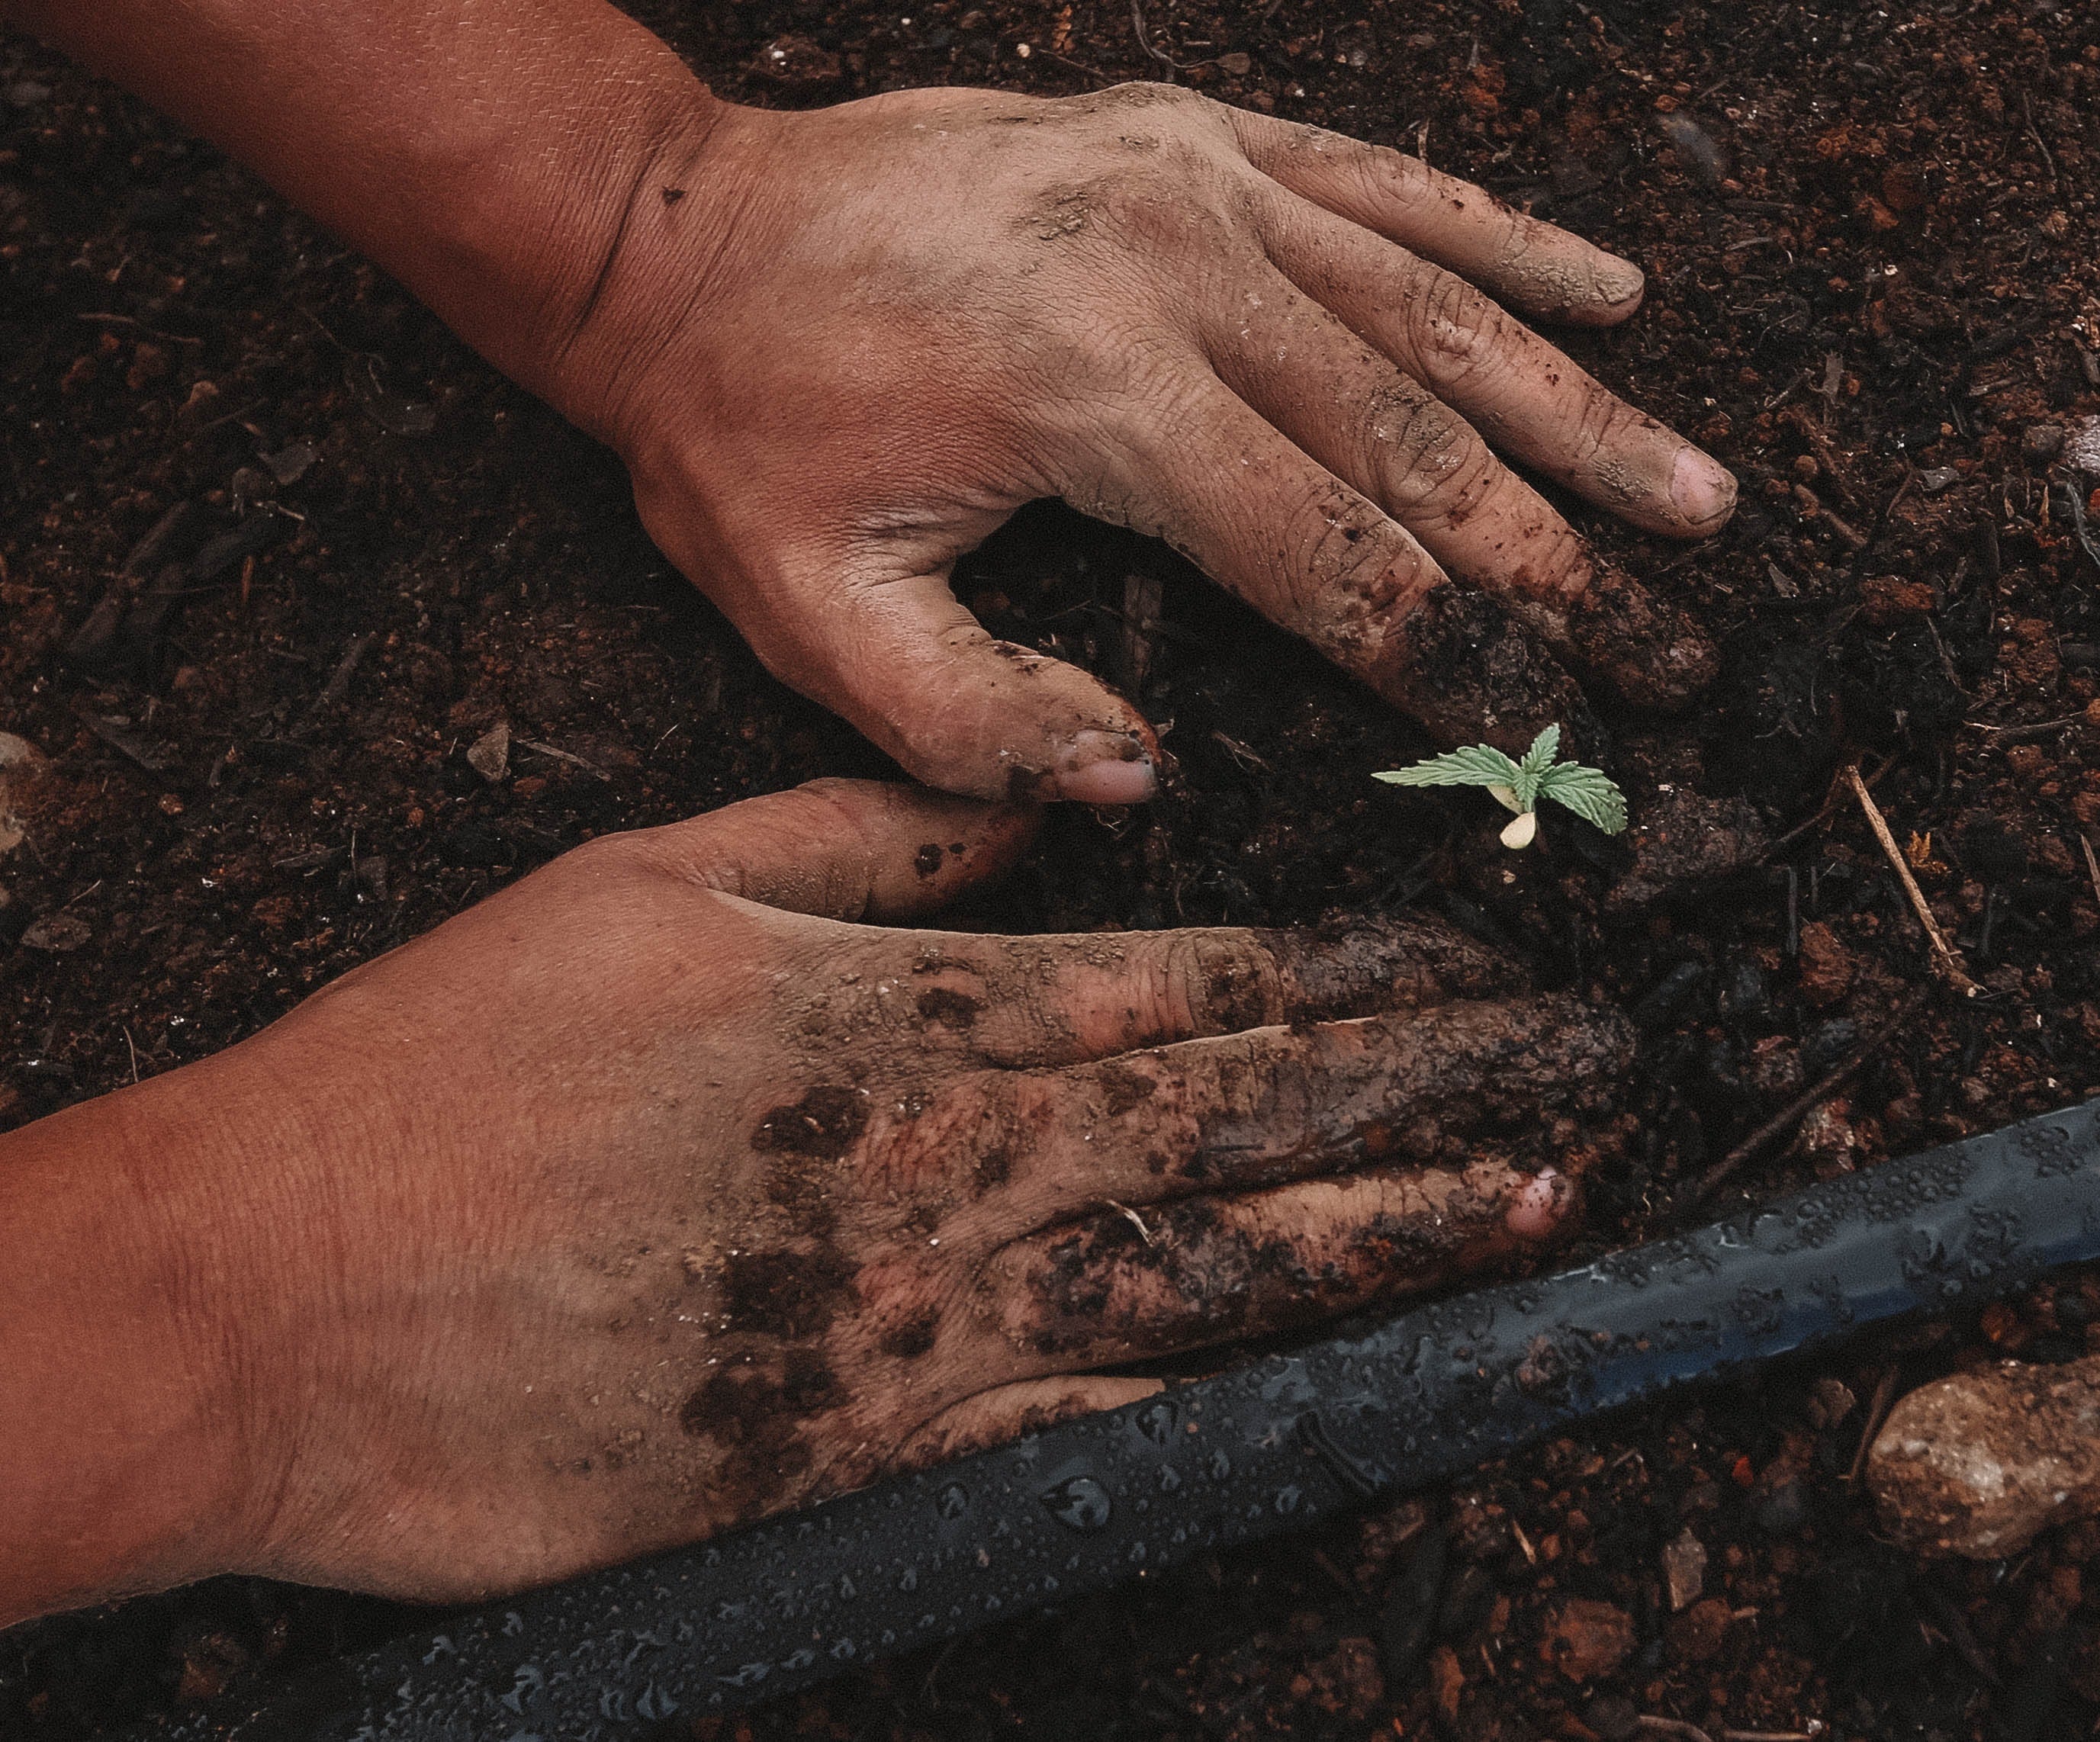
At Seed Armory, we've simplified everything you need to be confidently prepared long-term for the next crisis. We provide the tools, expertise, and 100% heirloom seeds you need to become truly self-sufficient.
What are you waiting for?