Flower Seed Varieties
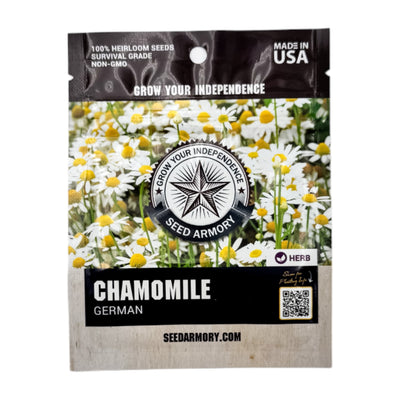
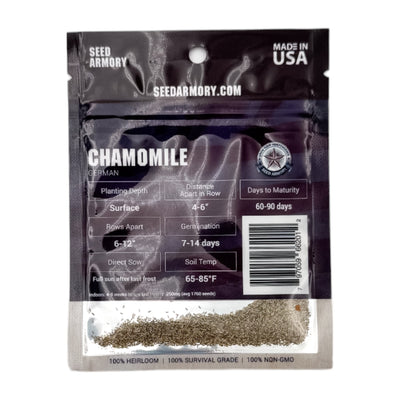
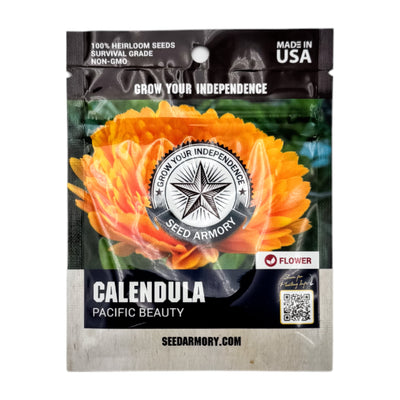
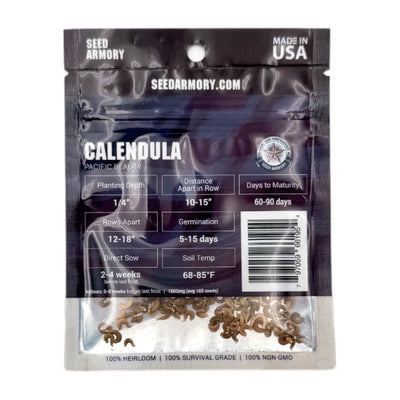
Shop our selection of Long Life, Mylar Packaged and Moisture-proof Flower Seed Packets.
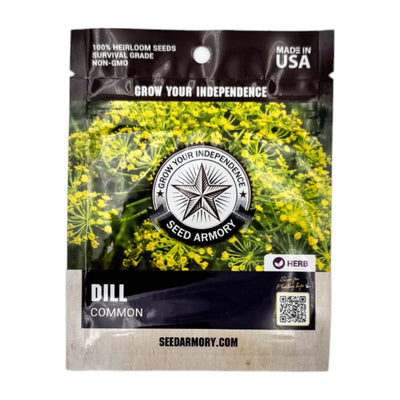
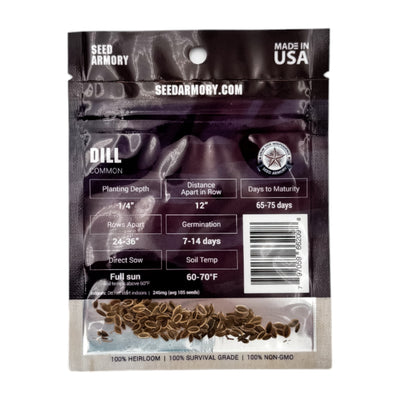
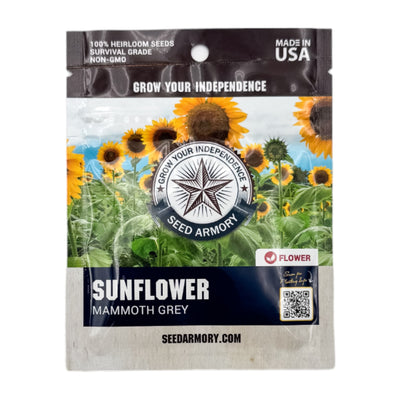
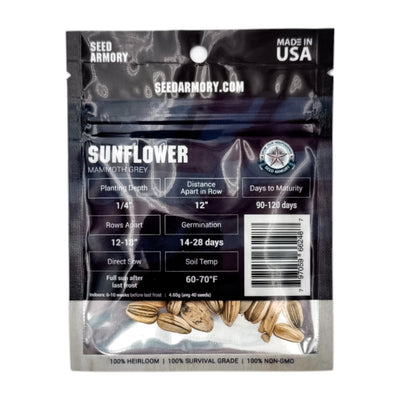
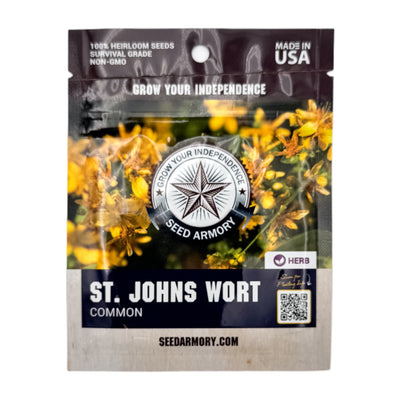
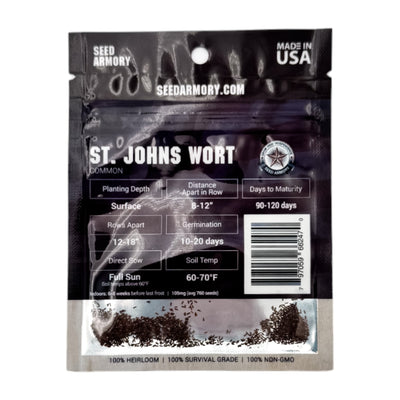
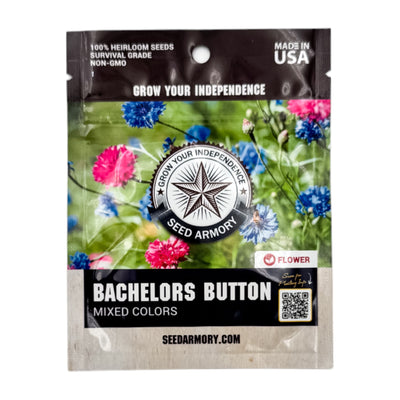
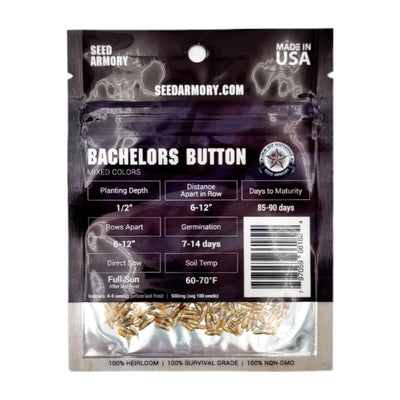
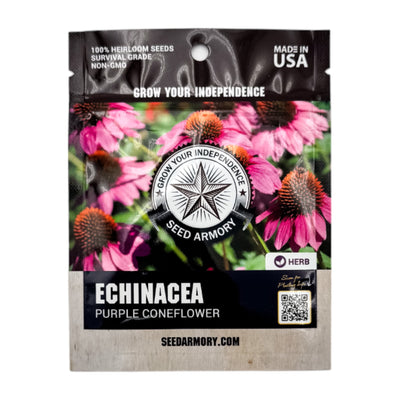
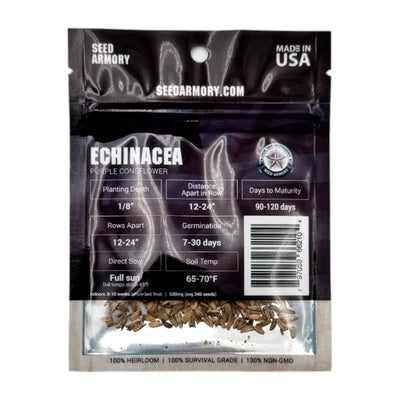
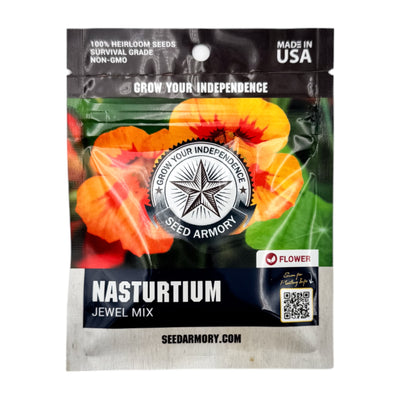
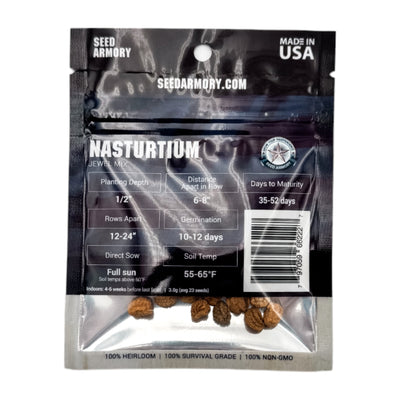
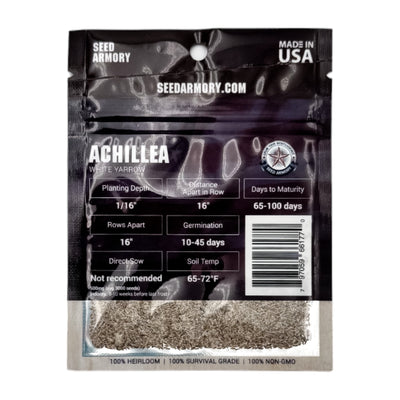
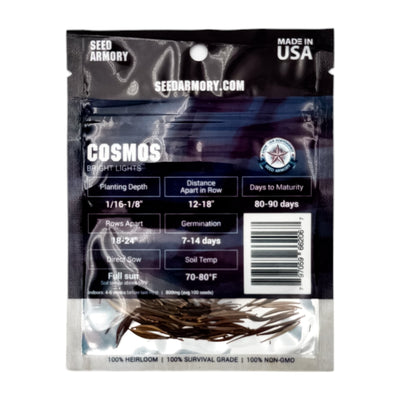
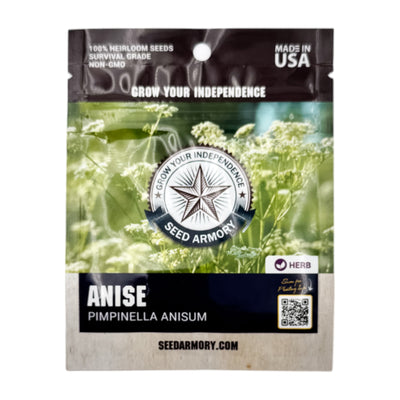
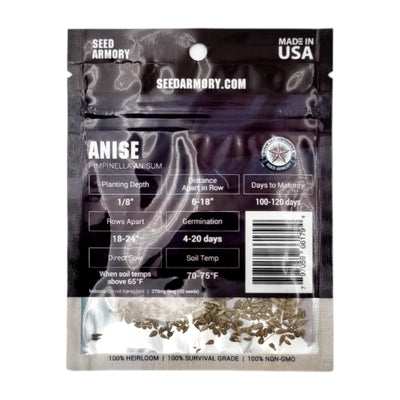
Our varieties are all: 100% Non-GMO, 100% Heirloom, 100% Open-Pollinated
Filter and sort