In the world of preserving fresh produce, canning has been a time-honored tradition for generations. One of the most popular and efficient methods of canning is using Ball Mason jars. These versatile glass containers have been a staple in kitchens for over a century, providing a secure and reliable way to store a wide range of goods, from jams and pickles to soups and sauces.
Here, we'll explore the art of canning goods in Ball Mason jars, covering everything from the equipment needed to the step-by-step process, ensuring that you can enjoy your favorite fruits and vegetables year-round. Luckily for you, we now sell Ball Mason Jars, going full circle in the survival garden experience here at Seed Armory. From planting, gardening, to canning and preserving foods, we arm your garden and prepare you for anything and enjoy flavors of each season long after they are gone.
Benefits of Canning in Mason Jars
Canning is not only a great way to extend the shelf life of seasonal produce, but it also offers various other benefits that make it a preferred method of preservation.
-
Retains Freshness: When done correctly, canning preserves the taste, texture, and nutritional value of the food, allowing you to savor the flavors of summer even in the depths of winter.
-
Cost-Effective: Buying fresh produce in bulk during peak seasons and canning them can save you money in the long run, as canned goods are often more affordable than store-bought alternatives.
-
Chemical-Free: Canning enables you to control what goes into your food, avoiding harmful preservatives and additives commonly found in commercially canned goods.
-
Sustainability: By canning your own goods, you reduce food waste and your environmental impact, making it a greener choice for the planet.

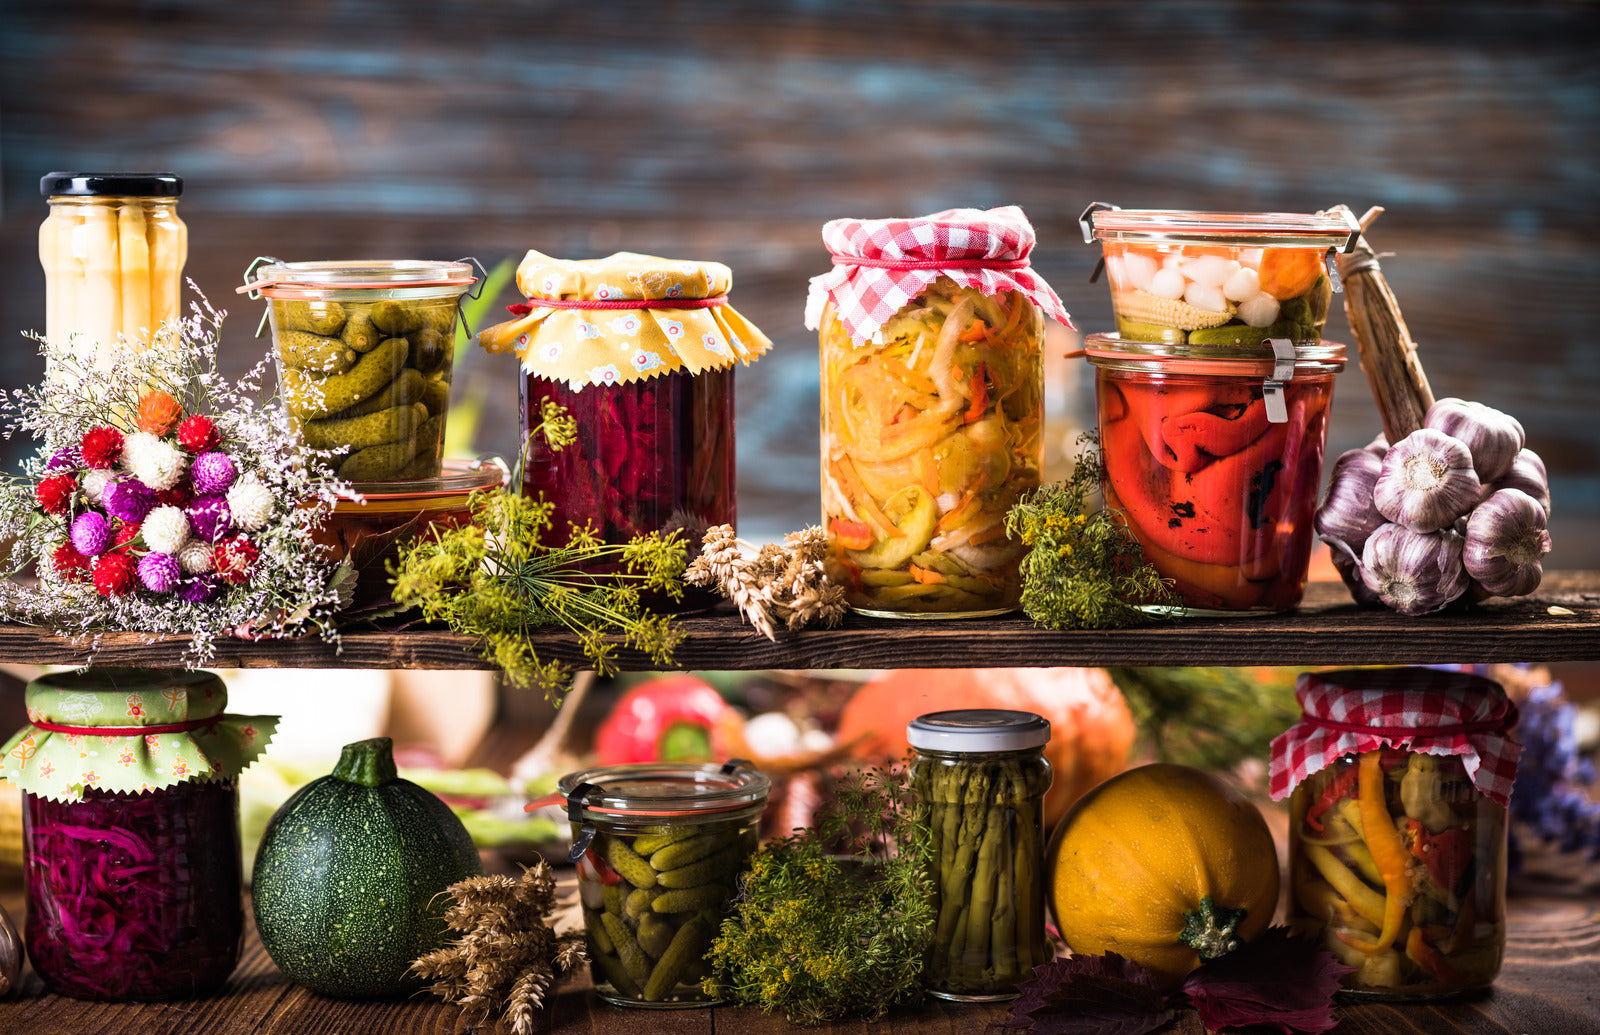
Canning is a versatile preservation method that allows for a wide range of goods to be stored and enjoyed long after their season has passed. Here are some examples of popular canned goods:
Fruit Preserves:
- Strawberry Jam
- Peach Slices
Pickled Vegetables:
- Dill Pickles
- Pickled Beets
Tomato Products:
- Crushed Tomatoes
- Tomato Salsa
Sauces and Condiments:
- Marinara Sauce
- Apple Butter
Jellies and Jams:
- Grape Jelly
- Raspberry Jam
Canned Beans and Legumes:
- Chickpeas
- Black Beans
Pie Fillings:
- Cherry Pie Filling
- Pumpkin Pie Filling
These examples represent just a fraction of the possibilities when it comes to canned goods. The beauty of canning lies in its ability to preserve a wide variety of foods, allowing you to enjoy the flavors of each season long after they are gone. Whether you're savoring the sweetness of summer fruits or warming up with hearty stews in the winter, canned goods provide convenience, versatility, and delightful tastes throughout the year.

The Step-by-Step Canning Process:
Step 1: Preparation
Wash Mason jars, lids, and screw bands in hot, soapy water. Rinse and inspect for damages. Sterilize jars by boiling in a canning pot for 10 minutes. Keep warm until ready to fill.
Step 2: Prepare the Goods
Choose fresh produce. Wash, peel, and chop as needed. Remove air bubbles by tapping jars gently or using a non-metallic utensil.
Step 3: Filling the Jars
Ladle goods into sterilized Mason jars using a funnel, leaving appropriate headspace for expansion.
Step 4: Lid Application
Wipe jar rims clean, place flat metal lid on top, and secure with the screw band, allowing air to escape during processing.
Step 5: Processing
Place filled jars on canning rack in boiling water, ensuring no touching. Start timer based on recommended processing time. Adjust for altitude.
Step 6: Cooling and Sealing
Remove hot jars with canning tongs, let cool for 12 to 24 hours. "Ping" sound indicates successful sealing.
Step 7: Testing and Storage
Press down on lids to check seals. Refrigerate unsealed jars, store sealed jars in a cool, dark place for up to a year (use within 6 to 8 months for best quality).


