Are you ready to unlock the secret to a flourishing survival garden? It all begins with the foundation, and in this guide, we're going to dive into the world of "No-Dig Garden Beds." These beds are the key to making your survival garden not only productive but also low-maintenance. We'll explore the ins and outs of effective survival garden bed design, revealing how to set up and maintain them for bountiful harvests year after year.
The Significance of Survival Garden Bed Design
When it comes to survival gardening, effective bed design is crucial. It ensures your plants have the right environment to thrive and produce the food you need. So, why are no-dig garden beds so significant? Check our zone heat map to ensure the crops you want to grow will thrive in your growing environment.
1. Healthy Soil Preservation
One of the main advantages of no-dig garden beds is the preservation of healthy soil. Traditional tilling disrupts the natural soil structure, leading to erosion and loss of nutrients. No-dig beds protect your soil's health by minimizing disturbance, making it an ideal choice for sustainable, long-term gardening.
2. Weed Control
Weeds can be a survival gardener's worst enemy, competing for nutrients and water. No-dig beds create an inhospitable environment for weeds, as the layers of organic material smother weed growth, reducing the need for laborious weeding.
3. Water Efficiency
No-dig garden beds retain moisture better than traditional gardens. This means less water is required, making them an excellent choice for regions with water restrictions or those aiming for self-sufficiency.
Building Your No-Dig Survival Garden Bed
Now that we understand the benefits of no-dig garden beds, let's delve into the process of building one. The creation of your no-dig garden bed is a crucial step in setting the stage for a thriving survival garden. Follow these steps for a successful build:
1. Site Selection
Choosing the right location for your no-dig garden bed is vital for its long-term success.
- Sunlight: Opt for a spot that receives ample sunlight, ideally a minimum of 6 hours a day according to cornerstoregardening.com. Sunlight is essential for plant growth and productivity, so prioritize this aspect when selecting your site.
- Level Ground: Ensure that the chosen location is relatively level. Avoid areas with significant slopes or uneven terrain, as this can lead to uneven water distribution and soil erosion.
- Drainage: Good drainage is essential to prevent waterlogging, which can harm plant roots. Assess the natural drainage patterns in your chosen area and consider installing drainage systems if necessary.

2. Layering Technique
The layering technique is at the heart of building a no-dig garden bed. It creates the foundation for a healthy and productive gardening environment.
- Weed Barrier: Start by laying down a weed barrier. You can use cardboard or newspaper for this purpose. This layer will prevent weeds from infiltrating your garden bed, reducing the need for weeding throughout the growing season.
- Organic Materials: On top of the weed barrier, add a layer of organic materials such as straw, leaves, or compost. These materials not only provide nutrients but also serve as a habitat for beneficial microorganisms that enhance soil fertility.
- Repeat Layering: Continue this layering process, adding alternating layers of organic materials. Aim to build your bed to a height of around 12-18 inches. The layering technique promotes soil structure and encourages plant roots to explore different levels of the bed.
3. Planting
Once your no-dig bed is established, it's time to get your plants in the ground. Proper planting is essential for their growth and productivity.
- Spacing: Pay close attention to the recommended spacing for the plants you intend to grow. Proper spacing ensures that each plant has enough room to grow and access essential nutrients. Overcrowding can lead to stunted growth and increased competition for resources.
- Watering: After planting, water your bed thoroughly. This helps settle the soil and hydrate your newly introduced plants. Adequate watering at this stage is critical for their initial establishment.
- Heirloom Seeds: Here at Seed Armory, we specialize in arming your garden with the best 100% heirloom, non-GMO seedlings that you can either plant this season or save for the next. Every seed vault is packed in a mylar resealable packaging pouch that allows for storing for a very long time. Get a discount if you purchase a bundle of seed packs to save and start your survival garden off right!
4. Mulch
Mulching is the final touch to your no-dig garden bed, providing multiple benefits that contribute to the success of your garden.
-
Mulch Type: Cover the surface of your garden bed with an appropriate mulch material, such as straw, wood chips, or shredded leaves. Mulch serves several essential functions:
- Weed Suppression: A thick layer of mulch acts as a natural weed barrier, reducing the need for weeding and keeping your garden bed tidy.
- Moisture Retention: Mulch helps to lock in moisture, reducing the frequency of watering and maintaining consistent soil moisture levels, which are vital for plant health.
- Soil Temperature Regulation: Mulch acts as insulation, keeping the soil cooler in the summer and warmer in the winter, creating a stable environment for plant roots. Check this heat map of soil temperatures around the United States by greencastonline.
With these steps, your no-dig garden bed will be primed for success. Building it properly and tending to its specific needs will set the stage for a thriving survival garden, ensuring a bountiful harvest of homegrown produce.

Maintenance and Longevity
Your no-dig garden bed is set up, and you're enjoying the benefits. But how do you maintain it for long-term success?
-
Regular Mulching
Replenish the mulch layer as it breaks down. This ensures your bed continues to be weed-free and moisture-efficient. As time passes, the initial mulch layer you applied will naturally decompose. To maintain the effectiveness of your no-dig bed, consider the following:
- Mulch Thickness: Maintain a layer of mulch that's around 2-4 inches thick. This depth will not only suppress weeds but also help regulate soil temperature, keeping it cooler in the summer and warmer in the winter.
- Mulch Material: Select mulch materials that suit your garden and location. Straw, wood chips, or leaves are common choices. These materials break down slowly, providing long-lasting benefits.
-
Crop Rotation
To prevent soil depletion and the build-up of diseases, practicing crop rotation is essential. Crop rotation is the practice of changing what you plant in each bed from season to season. This helps in several ways:
- Nutrient Balance: Different plants have varying nutrient requirements. Crop rotation ensures that the same nutrients aren't constantly extracted from the soil. For example, if you grew nitrogen-hungry crops like corn one season, follow with nitrogen-fixing legumes such as beans the next.
- Disease Prevention: Some plant diseases can persist in the soil. By rotating crops, you can break the disease cycle. For instance, if your tomatoes suffered from a soil-borne disease one year, avoid planting tomatoes in the same bed the following season.
- Pest Disruption: Crop rotation can also confuse pests that are specific to certain plants, making it harder for them to establish themselves.
-
Compost and Fertilization
Boosting soil fertility is a key aspect of maintaining your no-dig garden bed's productivity. While the initial layering with organic materials provides a solid foundation, over time, your plants will utilize those nutrients. Here's how to keep your soil fertile:
- Compost Addition: Regularly add compost to your garden bed. Compost is a rich source of organic matter, nutrients, and beneficial microorganisms that enhance soil structure. Incorporate it during the offseason or before planting to enrich the soil.
- Organic Fertilizers: If your plants show signs of nutrient deficiencies, consider using organic fertilizers like composted manure or bone meal. These can provide a nutrient boost while adhering to the organic principles of no-dig gardening.
-
Observation
Regularly inspect your garden for pests, diseases, and any other issues. Quick intervention can save your crops. Vigilance is your best defense against problems that can plague your survival garden:
- Pest Management: Keep an eye out for signs of pest infestations such as chewed leaves or insect damage. If you spot an issue, address it promptly with natural remedies like neem oil or companion planting with pest-repelling plants. A great natural way to prevent pests from gobbling up your precious survival garden is implementing bat houses and habitats into your growing space. Bats are misunderstood animals and provide a great way to control pests.
- Disease Detection: Look for symptoms like yellowing leaves, wilting, or unusual growth patterns, which can indicate diseases. Isolate affected plants and treat them to prevent the spread of diseases.
- Soil Health Assessment: Periodically test your soil to ensure it maintains the right pH and nutrient balance. Soil testing kits are readily available and can guide your fertilization practices.
By following these maintenance practices, your no-dig garden bed will remain productive and sustainable year after year, ensuring a constant supply of fresh, homegrown produce for your survival needs.
In the world of survival gardening, a well-designed no-dig garden bed can be your secret weapon for a thriving, low-maintenance, and sustainable garden. By preserving healthy soil, reducing weed competition, and enhancing water efficiency, these beds set the stage for your garden's success. Building and maintaining your no-dig garden bed is a rewarding and practical investment for your long-term food security.
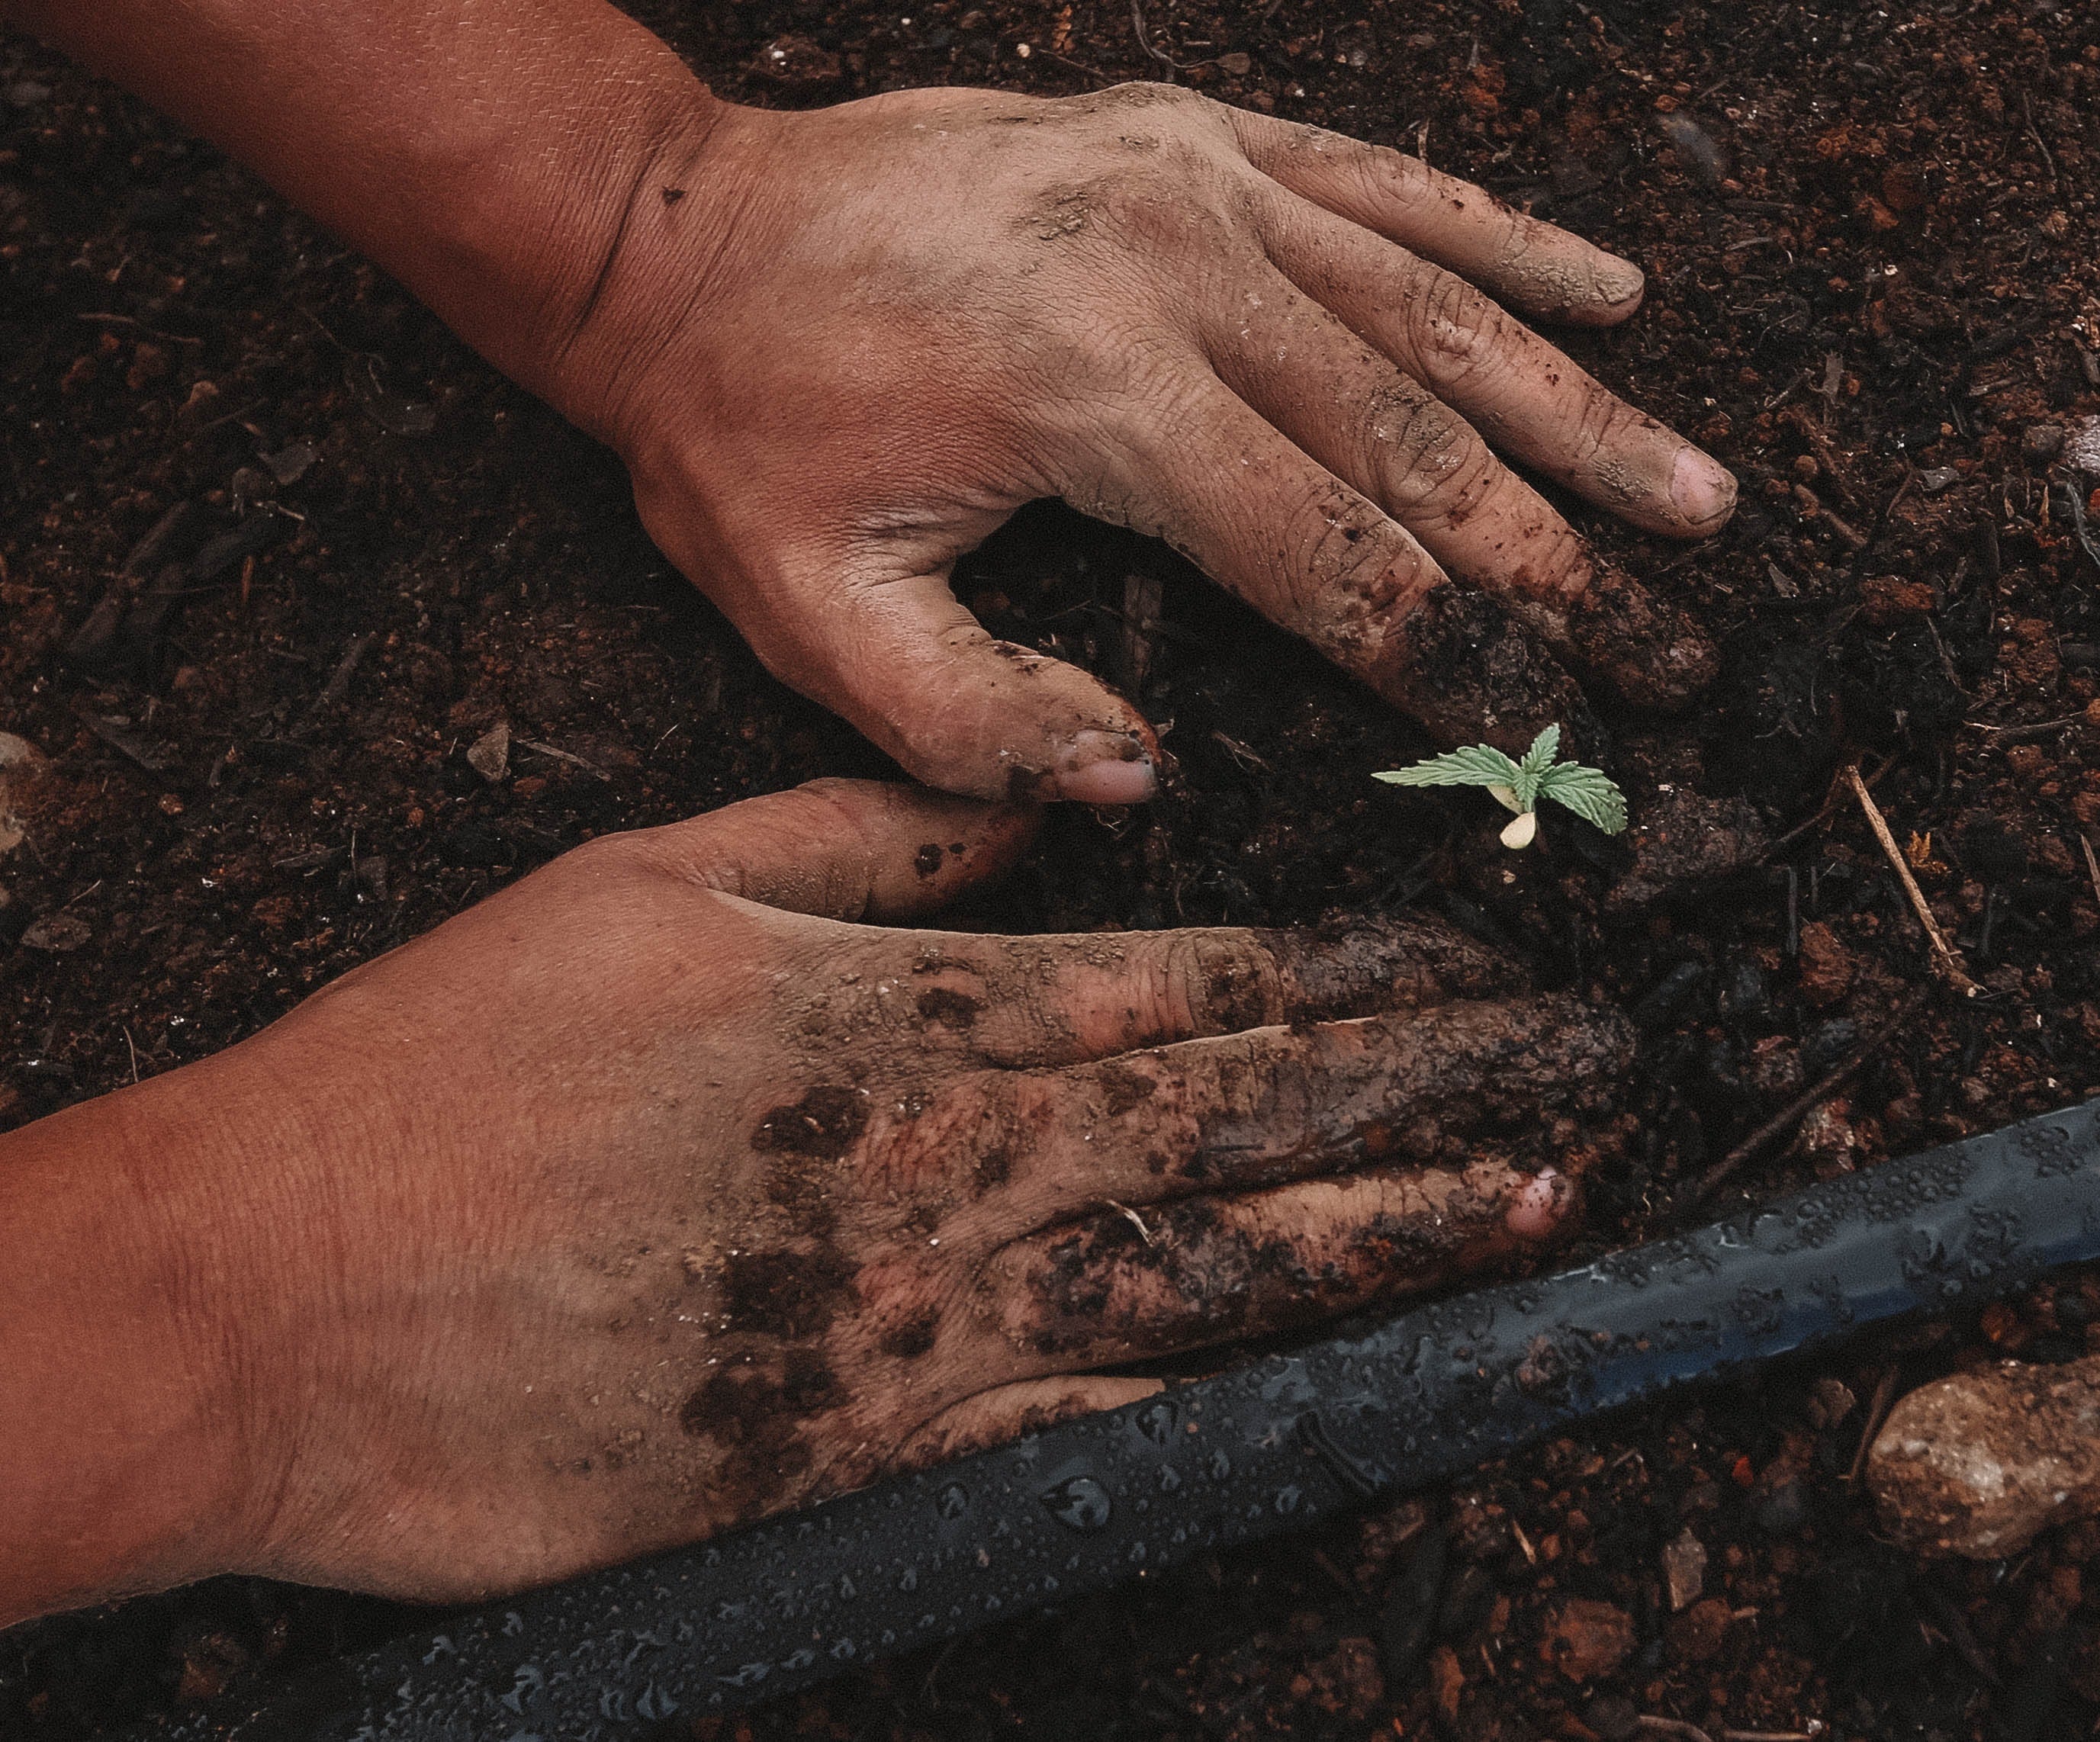
So, get your hands dirty and start building your own no-dig garden bed. Your thriving survival garden awaits, and now you hold the key to making it a reality. Happy gardening!


