Starting your own seed bank can be an exciting and rewarding venture for anyone interested in gardening, agriculture, or sustainability. Not only can it provide you with a sense of self-sufficiency, but it can also be a valuable resource for your community. If you're interested in starting your own seed bank, there are a few key steps you can take to ensure its success.
Choose Your Seeds
The first step in starting your own seed bank is to choose the seeds you want to store. You can start by selecting seeds from plants that you have grown and saved yourself. Alternatively, you can purchase seeds from reputable seed companies or trade seeds with other gardeners.
When selecting seeds, it's important to choose varieties that are well-suited to your climate and growing conditions. You should also consider the quality and viability of the seeds. Look for seeds that are free from disease and have a high germination rate.
Store Your Seeds Properly
Once you have chosen your seeds, it's important to store them properly to ensure their viability. The two main factors that can affect seed viability are moisture and temperature. Seeds should be stored in a cool, dry place, ideally at a temperature between 32-41°F (0-5°C) and a relative humidity of 20-30%.
To achieve these conditions, you can use a variety of storage methods, including sealed plastic bags, glass jars, or metal containers. It's also a good idea to add a desiccant, such as silica gel or dry rice, to help absorb any excess moisture.

Organize Your Seeds
To keep track of your seed inventory, it's important to organize your seeds in a way that makes sense to you. You can use a spreadsheet or seed catalog to record important information about each seed variety, such as the date of collection, the source of the seeds, and any specific growing requirements.
It's also a good idea to label your seed containers with the variety name, the date collected, and any other pertinent information. This will help you easily identify your seeds and keep track of their age and viability.
Test Your Seeds
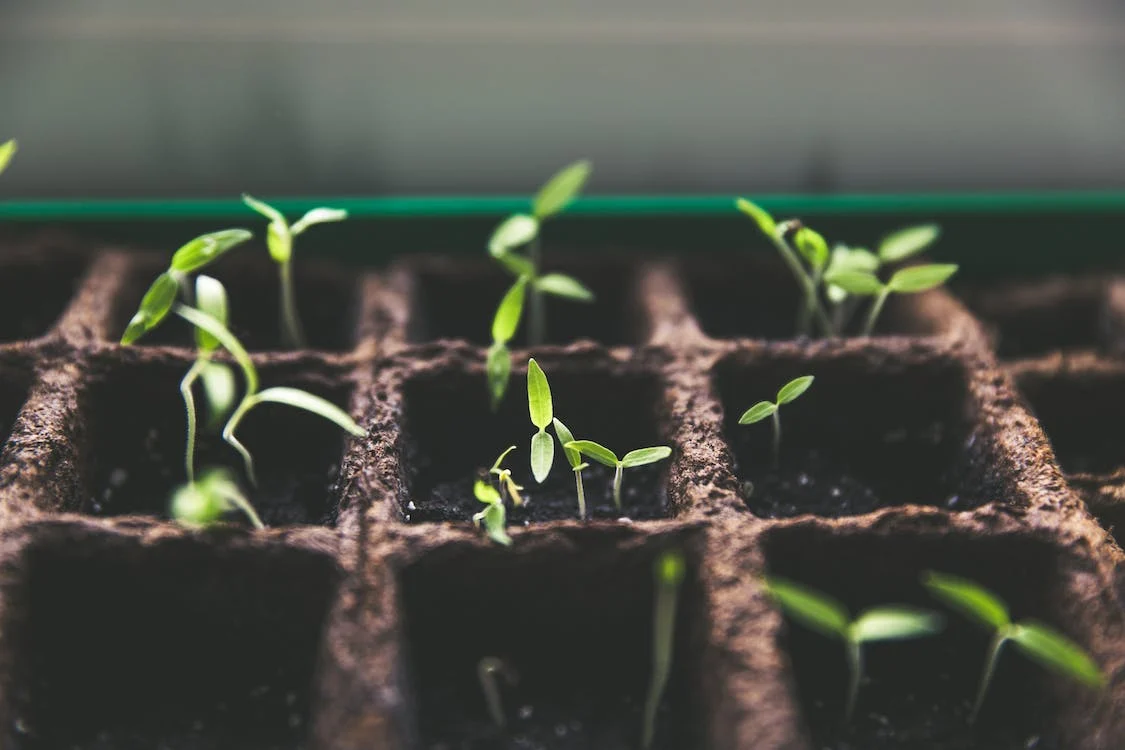
To ensure that your seeds are still viable, it's a good idea to test them periodically. To do this, you can place a few seeds in a damp paper towel and place them in a warm, dark place. After a few days, check to see if the seeds have germinated. If they have, then the seeds are still viable and can be used for planting.
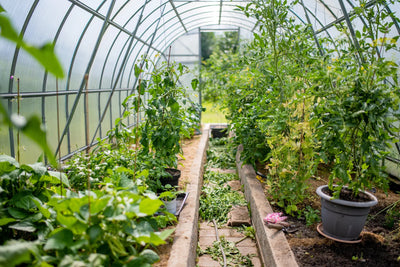
Mimic the ideal weather conditions you need while saving space with a greenhouse or polytunnel. They usually allow for a wide variety of plants to flourish in small areas while staying protected from the elements. You have an enclosed space that extends your growing season and allows you to experiment with plants outside your hardiness zone.

Another layering concept in gardening includes laying down cardboard or newspaper to smother weeds and retain moisture. Next, add a layer of dry leaves or grass clippings and add any soil amendments or compost to promote decomposition. If you find that some of your seeds are no longer viable, you can either discard them or use them for other purposes, such as making seed bombs or compost.
Starting your own seed bank can be a fun and rewarding hobby that also has practical benefits. By following these simple steps, you can create a personal seed bank that will provide you with a sense of self-sufficiency and a valuable resource for your community.
Next Steps
Make the most out of your survival garden by combining space-saving techniques that best suit your needs. Keep in mind space alone won't guarantee a successful garden. You also need healthy soil, seeds, and tools to help you see the results you're looking for in your small garden design. Start browsing our survival-grade seed vaults, bat houses, tools, and soil amendments for a thriving survival garden.


