As the air gets crisper and the days grow shorter, fall harvest time is in full swing. There’s something incredibly satisfying about preserving your own food, especially when it’s straight from the farm (or your garden) to your pantry shelf. One of the best ways to make the most of the bountiful fall season is by canning. Whether you’re new to the canning world or looking to refine your skills, this guide will walk you through everything you need to know to create delicious, homemade meals all winter long.
Why Canning Is Perfect for Fall
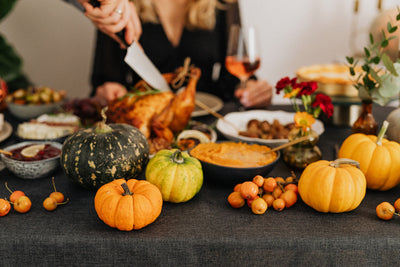
Fall is the ideal time for canning because it's harvest season for so many fruits and vegetables. Everything from apples and pumpkins to corn and squash is ripe and ready to be preserved. Not only does canning help you reduce food waste by preserving the abundance of fall produce, but it also allows you to enjoy the flavors of autumn long after the season is over.
Home-canned goods are perfect for cozy fall and winter meals—imagine pulling out a jar of perfectly spiced apple butter or a batch of savory canned chili when the snow starts falling outside. Canning also gives you the confidence of knowing exactly what’s going into your food, which is especially helpful if you’re focusing on natural, farm-fresh ingredients.
Getting Started: What You Need for Canning
Essential Canning Supplies
Before you dive into canning, it’s important to have the right supplies on hand. Here’s a quick list of what you’ll need to get started:
- Jars and Lids : Use canning jars with two-piece lids designed specifically for home canning. Make sure your jars are the right size for the foods you’re canning—quart jars for larger items like vegetables, and pint jars for jams, jellies, or sauces.
- Water Bath Canner or Pressure Canner : The type of canner you need depends on what you're preserving. Water bath canners are great for high-acid foods like tomatoes and fruits, while low-acid foods (such as meats and some vegetables) require a pressure canner.
- Jar Lifter : A jar lifter will help you safely transfer hot jars in and out of the canner.
- Canning Funnel : This tool helps prevent spills and ensures that you fill the jars properly.
- Lid Lifter : Magnets or a lid lifter make it easy to handle sterilized lids without touching them.
- Recipe Book or Guidelines : It’s always smart to have a guidebook or reliable online resource with approved canning recipes to ensure food safety.

Choosing the Right Method: Water Bath vs. Pressure Canning
The type of food you plan to can will dictate the method you should use.
Water Bath Canning
Water bath canning is perfect for high-acid foods such as fruits, tomatoes, jams, and pickles. This method involves submerging jars in boiling water for a certain period to kill harmful bacteria and create a vacuum seal. It’s a simpler process, making it a good starting point for beginners.
Pressure Canning
Low-acid foods such as vegetables, meats, and soups require pressure canning. A pressure canner reaches much higher temperatures than a water bath, killing off bacteria that can't be eliminated at boiling point alone. If you plan to can hearty fall stews, chili, or green beans, pressure canning is your go-to method.
Top Fall Produce to Can
Fall is packed with foods that are perfect for canning. Here are some of the best options to preserve now for delicious meals later.
1. Apples
There’s nothing like the taste of homemade applesauce or spiced apple butter spread on toast during the winter. Apples are high in natural pectin, making them perfect for jellies and sauces. You can also can apple slices to use in pies or cobblers.
2. Pumpkins
Canning pumpkin puree is a great way to save your fall harvest and make sure you have plenty on hand for holiday baking. However, it’s important to note that you should can cubed pumpkin, not puree, for safety reasons.
3. Tomatoes
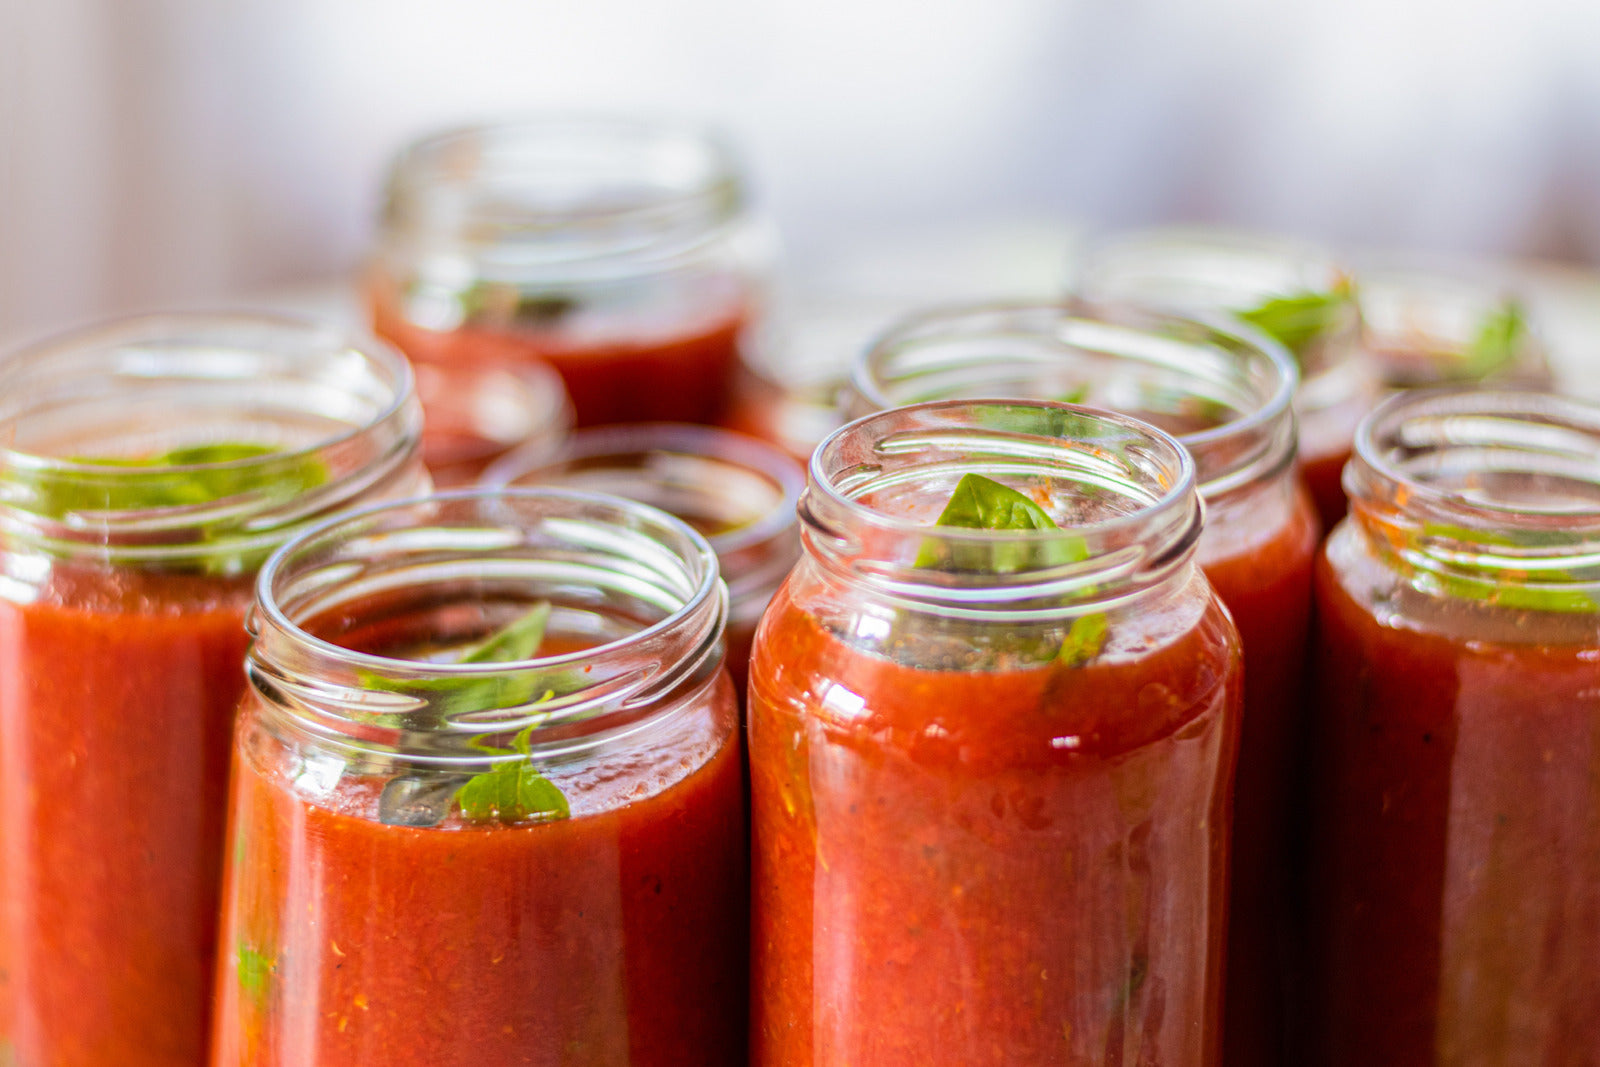
Even though they’re a summer crop, many varieties of tomatoes continue producing well into the fall. Tomatoes are incredibly versatile and can be canned as sauces, diced, or whole, providing the base for countless winter meals like soups, chili, and pasta dishes.
4. Corn
Fall is prime time for sweet corn, and there’s no better way to capture that flavor than by canning it for the winter. You can can whole corn kernels or creamed corn, and it pairs well with so many comforting fall recipes.
5. Squash
Squash varieties like butternut and acorn are abundant during the fall and can be canned as delicious soups or cubed for future recipes. Squash soup is especially popular for warming up during the chilly months.
6. Green Beans
One of the simplest veggies to can, green beans make a perfect side dish for winter meals. They hold their texture well when canned and are a low-acid vegetable, making them ideal for pressure canning.

Step-by-Step Guide: Canning Applesauce
To give you a hands-on example, let’s walk through canning applesauce—one of the easiest and most rewarding things to can during the fall season.
Ingredients and Equipment
- 10 pounds of apples (choose sweet varieties like Fuji or Gala)
- 1/2 cup sugar (optional, depending on how sweet you like it)
- 1 tablespoon cinnamon (optional)
- Water
- Canning jars, lids, and bands
- Water bath canner
- Jar lifter and funnel
Instructions
1. Prepare Your Jars
Start by sterilizing your jars, lids, and bands. You can do this by washing them in hot soapy water and then boiling the jars in your water bath canner for 10 minutes. Leave the jars in the hot water until you’re ready to fill them.
2. Cook the Apples
Peel, core, and slice your apples. Place them in a large pot with a small amount of water and cook them over medium heat until soft. Stir occasionally to prevent sticking.
3. Mash or Blend the Apples
Once the apples are soft, use a potato masher for a chunkier texture or an immersion blender for a smoother sauce. Add sugar and cinnamon if desired.
4. Fill the Jars
Using your funnel, ladle the applesauce into the hot, sterilized jars, leaving about 1/2 inch of headspace at the top. Wipe the rims clean and place the lids and bands on the jars.
5. Process the Jars
Place the filled jars into your water bath canner, making sure they are covered with at least 1-2 inches of water. Bring the water to a boil and process for 20 minutes. Remove the jars carefully using a jar lifter and place them on a towel to cool.
6. Check the Seals
After 12-24 hours, check the seals by pressing down in the center of each lid. If it doesn’t pop back, the jar is sealed. If the seal didn’t form, refrigerate the jar and use it within a week.
Preserve Your Harvest with Seed Armory’s Premium Canning Tools!
Get ready for canning season with Seed Armory’s high-quality Mason Jars and 6-Piece Canning Tool Set , designed to make home canning easier and safer. Whether you're preserving fall's finest apples, pumpkins, or tomatoes, our durable Mason jars are perfect for keeping your food fresh and secure for months. Paired with our essential 6-piece tool set, including a jar lifter, funnel, and more, you’ll have everything you need to get the job done efficiently.
Why Choose Seed Armory?
- Durable Mason Jars : Available in pint and quart sizes, ideal for jams, sauces, vegetables, and more.
- 6-Piece Canning Tool Set : Includes jar lifter, canning funnel, magnetic lid lifter, bubble remover, jar wrench, and tongs.
- Built to Last : Made from food-safe materials and built for years of canning success.
- Easy to Use : Designed for beginners and pros alike, ensuring your canning process is safe and stress-free.
Get your canning essentials today at Seed Armory and start preserving the flavors of the season!
Shop Now and save your harvest!
Storing Your Canned Goods
Once your jars have sealed properly, you can store them in a cool, dark place for up to a year. It’s best to label your jars with the contents and the date they were canned so you can keep track of freshness.
Delicious Fall Meals Using Your Canned Goods
Now that you have a pantry stocked with fall flavors, here are some ideas for turning your canned produce into comforting, delicious meals:
- Apple Crumble : Use your canned apples to make a warm apple crumble topped with oats and cinnamon.
- Pumpkin Soup : Puree your canned pumpkin cubes into a creamy soup with a touch of nutmeg and sage.
- Chili : Use your canned tomatoes and corn to make a hearty chili perfect for cold evenings.
Enjoy the Flavors of Fall All Year Long
Canning is a fantastic way to preserve the rich flavors of fall and ensure you have delicious, wholesome meals ready throughout the colder months. Whether you’re new to canning or a seasoned pro, fall is the perfect time to stock your pantry with home-canned goods that will warm you from the inside out all winter long.
Happy canning!


