Seed saving is an essential skill for survival gardeners who want to ensure a reliable source of food during challenging times. In a survival situation, the ability to save and store seeds means that you can grow your own food year after year without relying on external sources.
Seed saving also allows gardeners to maintain genetic diversity and preserve heirloom and rare plant varieties. In this post, we'll cover the basics of seed saving, including how to choose the right plants for seed saving, how to store seeds, and how to propagate plants from saved seeds.
Choosing the Right Plants for Seed Saving
The first step in seed saving is to choose the right plants for the job. It's essential to select plants that are healthy, disease-free, and produce the best fruits or vegetables. Hybrid plants, which are created by crossbreeding two different plants, don't always produce seeds that grow true to the parent plant.
Instead, it's best to choose open-pollinated or heirloom varieties, which are pollinated by natural means like wind, insects, or birds. These types of plants produce seeds that will grow into plants that closely resemble the parent plant. Unlike hybrid seeds, which are bred for specific growing conditions, heirloom seeds have adapted to a wide range of climates and soil types. This means that they are more likely to thrive in your garden, no matter where you live.

Storing Seeds
Storing seeds is an important part of the seed-saving process. Properly stored seeds can last for several years, ensuring a reliable source of food for future growing seasons. To store seeds, you'll need to ensure that they are dry and free of moisture. Seeds that are stored in moist conditions will quickly become moldy and unusable. One way to dry seeds is to spread them out in a single layer on a flat surface and allow them to air dry for a few days.
You can also use a dehydrator to dry seeds quickly. Once the seeds are dry, store them in a cool, dry place, like a basement or a pantry. Airtight containers, such as glass jars or plastic bags, can help to keep out moisture and air. You can also add a packet of silica gel to the container to help absorb any excess moisture. We offer seed storage bags that are the same grade packets we use for our Survival Seed Vaults.
Propagating Plants from Saved Seeds
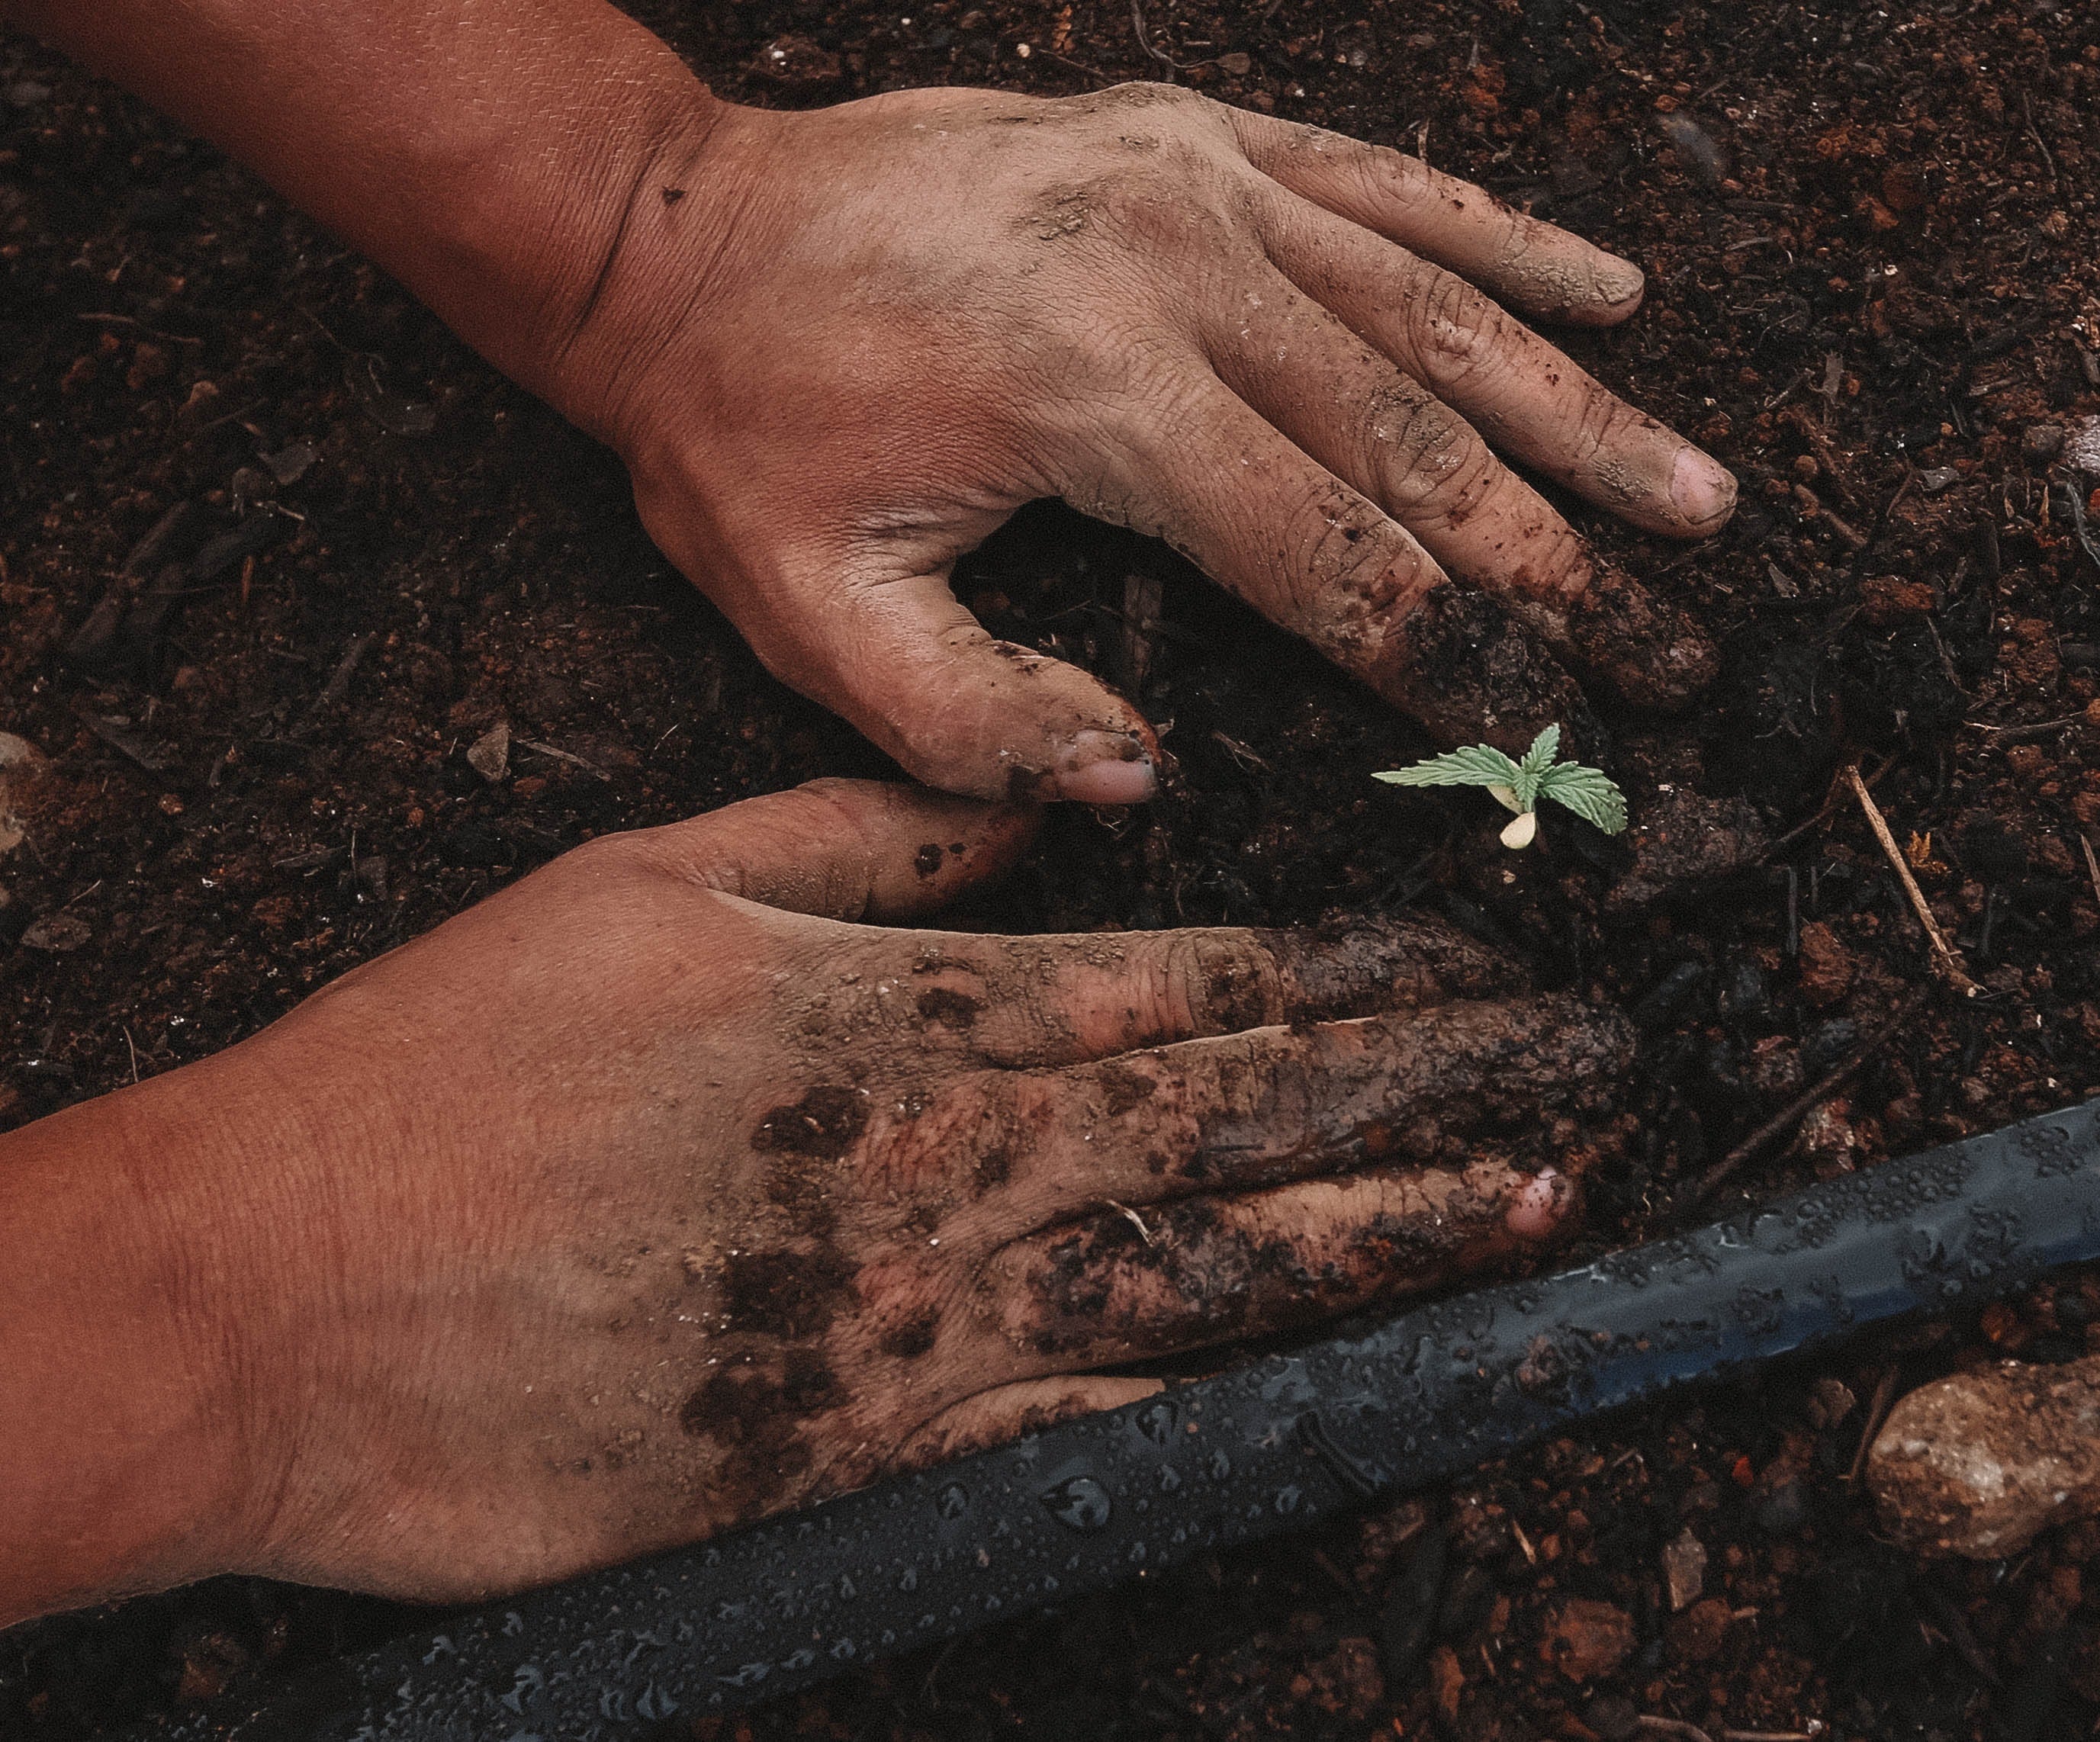
Once you have stored your seeds, it's time to plant them. To start, you'll need to determine the best time of year to plant the seeds. Some plants, like tomatoes and peppers, are best started indoors in early spring and then transplanted outside once the weather warms up. Other plants, like beans and peas, can be directly sowed into the garden.
To plant the seeds, prepare the soil by adding compost or fertilizer, and then create shallow furrows in the soil. Place the seeds in the furrows, cover them with soil, and water gently. Be sure to keep the soil moist until the seeds have germinated and the plants are established.
When the plants are ready, you can start the seed-saving process all over again. Be sure to choose healthy, disease-free plants to save seeds from, and continue to store them properly for future use. Choose from our list of vegetables that will kick-start your survival garden this year.

Invest in Your Future Garden
Seed saving is an important skill for survival gardeners to learn. It allows you to maintain a reliable source of food, preserve genetic diversity, and save money on seeds each year. By choosing the right plants for seed saving, storing seeds properly, and propagating plants from saved seeds, you can ensure a bountiful harvest year after year.
Next Steps
Ready to get started buying, saving, and storing seeds for survival? We provide a one-stop shopping experience for your survival gardening needs. Browse our survival seeds and kits, and supplies, or purchase our pre-packaged options.