As the vibrant hues of autumn signal the approach of colder seasons, gardeners and homesteaders gear up for an essential preservation method – canning. Canning is not just a method to extend the shelf life of your garden's bounty; it's a way to savor the flavors of summer all year round. In this comprehensive guide, brought to you by Seed Armory, we'll delve into the art and science of canning for colder seasons.
Introduction to Canning
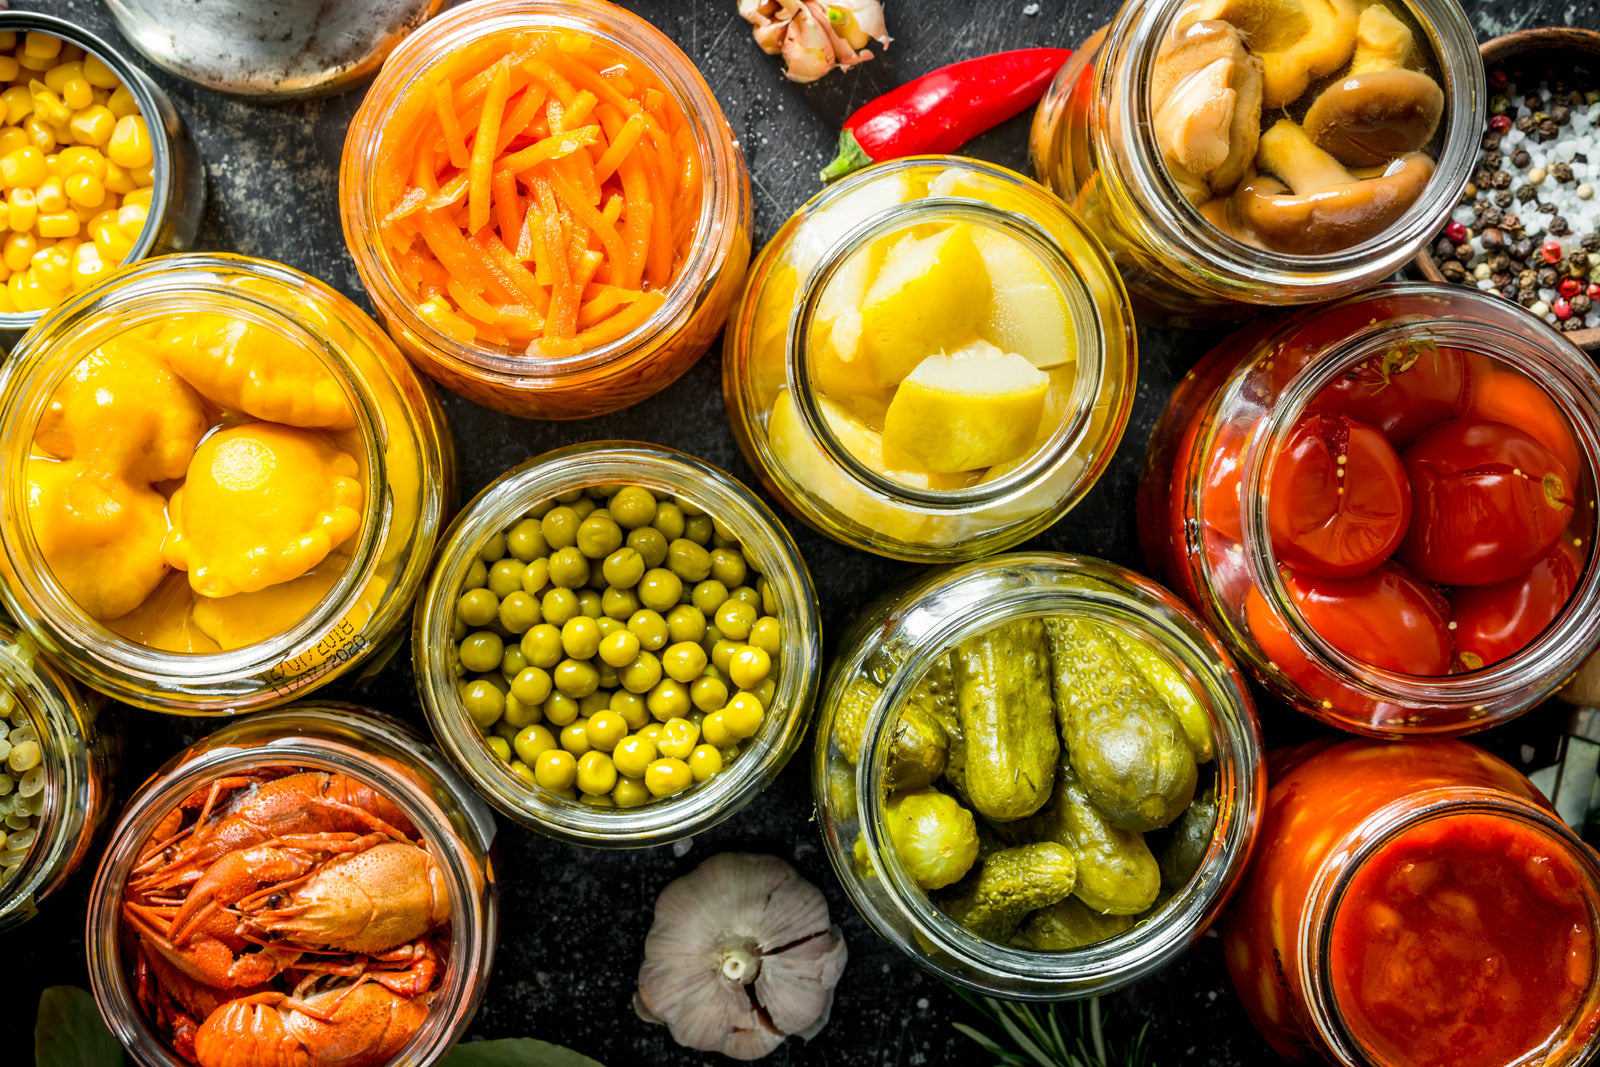
Canning is a time-honored technique that allows you to store and preserve fresh produce long after the growing season has ended. By sealing food in airtight containers or mason jars, you can lock in flavors and nutrients, ensuring your family has access to homegrown goodness even when snow blankets the ground.
Getting Started: Equipment and Supplies
Before you start canning for colder seasons, you'll need to gather the necessary equipment and supplies. Check out our selection of canning tools that are perfect for food preservation! Here's a list of essentials:
-
Canning Jars: Choose high-quality glass jars in various sizes to accommodate different foods.
-
Lids and Bands: Ensure you have enough new or gently used lids and bands for sealing the jars.
-
Canning Pot: Invest in a large, deep pot designed for canning to create a water bath.
-
Canning Rack: A rack keeps jars from directly touching the pot's bottom and ensures even heat distribution.
-
Canning Tools: Acquire essential tools like a jar lifter, lid lifter, and bubble remover.
-
Ingredients: Stock up on fresh produce, herbs, and spices for your recipes.

Choose the Right Recipes
Selecting the right recipes is crucial for successful canning in colder seasons. Consider these popular options:
-
Fruit Preserves: Make your own jams, jellies, and fruit spreads with the fruits of your labor.
-
Sauces: Create tomato sauce, salsa, or applesauce to add flavor to your winter meals.
-
Pickles: Canning cucumbers, beets, or green beans can add a tangy crunch to your dishes.
-
Chutneys and Relishes: These condiments can elevate your meals with bold flavors.
-
Soups and Broths: Prepare and can hearty soups or broths for quick and easy winter meals.
There are various safe techniques you can employ to preserve food within the comfort of your own home. These methods include the following popular approaches:
-
Cold Storage: This method is effective for storing root crops like beets, turnips, carrots, and potatoes, as well as many other fruits, vegetables, and foods. Cold storage maintains a cool temperature and a humid environment.
-
Freezing: Ideal for preserving fresh vegetables, fruits, and meats, freezing can extend the shelf life of these foods by up to a year if they are properly packaged.
-
Dehydration: Dehydration, according to PennState University, is an excellent choice for drying herbs, fruits, vegetables, and meats. By removing moisture from the food, it prevents spoilage and preserves its quality.
-
Pressure Canning: This technique is used to preserve low-acid foods with a pH above 4.6, such as meats and vegetables.
-
Water Bath Canning: Water bath canning is employed for preserving items like pickles and fruit, as well as other acidic foods with a pH of 4.6 or lower.
-
Fermentation: Fermentation, according to the National Library of Medicine, is a preservation method that not only keeps food but also enhances its nutritional value. It promotes the growth of beneficial bacteria, commonly referred to as probiotics, which are beneficial for gut health.

The Canning Process
Canning involves two primary methods: water bath canning and pressure canning.
-
Water Bath Canning: Suitable for high-acid foods like fruits, tomatoes, and pickles. Follow these steps:
a. Prepare your recipe and fill sterilized jars, leaving the recommended headspace. b. Place jars in a canning rack inside the canning pot, ensuring they are covered with water. c. Bring the water to a boil and process for the recommended time. d. Remove jars carefully and let them cool. The lids should pop, indicating a successful seal.
-
Pressure Canning: Essential for low-acid foods like vegetables, meats, and poultry. The process involves:
a. Prepare your recipe and fill sterilized jars, leaving the recommended headspace. b. Place jars on a canning rack inside the pressure canner with the appropriate amount of water. c. Seal the pressure canner and follow the manufacturer's instructions for processing. d. Once done, allow the canner to depressurize naturally before opening.
Safety First
Canning is a wonderful way to preserve your harvest, but it must be done safely to prevent foodborne illnesses like stated here by the Minnesota Department of Health. Here are some key safety tips:
-
Use Tested Recipes: Only use recipes from trusted sources to ensure proper acidity levels and processing times.
-
Inspect Jars and Lids: Examine jars and lids for cracks or defects, and discard any that are damaged.
-
Follow Processing Times: Never cut corners on processing times; this ensures harmful bacteria are killed.
-
Store Properly: Store your canned goods in a cool, dark, and dry place, away from direct sunlight.
Canning for colder seasons is a rewarding and practical way to enjoy the flavors of summer all year long. With the right equipment, recipes, and safety precautions, you can fill your pantry with delicious, homegrown goodness from Seed Armory's gardens. So, roll up your sleeves, put on your apron, and get ready to savor the fruits of your labor throughout the chilly months ahead. Happy canning!


